Two roasts can hit the same first-crack temperature and the same drop temperature and still taste completely different. The difference is usually in how fast the beans got there. That speed has a name: Rate of Rise (RoR), and it is the single most useful line on your roast graph once you learn to read it.
Quick Answer: Rate of Rise (RoR) is the speed at which bean temperature increases during a coffee roast, expressed in degrees per minute (for example, 10°C/min). Roasting software such as Artisan and Cropster calculates it from the bean probe and plots it as a separate curve. Roasters use RoR to predict where the roast is heading and to adjust gas, airflow and drum speed before problems show up in the cup.
What Is Rate of Rise (RoR) in Coffee Roasting?
Rate of Rise is the change in bean temperature over a fixed time interval. Mathematically, it is the first derivative of the bean temperature (BT) curve.
A simple way to picture it: bean temperature tells you where the roast is; RoR tells you how fast it is moving and in which direction.
- A falling RoR means the roast is slowing down.
- A rising RoR means it is speeding up.
- An RoR near zero means the roast has stalled.
Because RoR reacts faster than the temperature curve itself, it works as an early-warning system. Cropster notes that comparing live RoR against a reference curve can reveal deviations 30–60 seconds before they appear on the bean temperature line.
Bean RoR vs Environmental RoR
Most roasters track two RoR curves simultaneously:
- Bean Temperature RoR (BT RoR): Measured by the probe sitting in the bean mass. This is the primary curve most profiles are built around.
- Environmental Temperature RoR (ET RoR): Measured by the probe in the drum atmosphere or exhaust. When ET RoR climbs sharply late in the roast, it often signals that bean RoR is about to rise too — serving as an essential early warning for an impending flick.
How Is RoR Calculated?
RoR is calculated by dividing the temperature change by the time elapsed:
- Worked Example: If your bean probe reads 175°C at 6:00 and 184°C at 7:00, the temperature difference is 9°C over 1 minute. The RoR for that minute is 9°C/min.
RoR Units: Per Minute vs Per 30 Seconds
The same roast can show different RoR numbers depending on the unit your software uses. Always check the unit before comparing profiles across different roasteries or software setups.
| Displayed Value | Unit | Equivalent Per Minute |
|---|---|---|
| 5 | °C / 30 s | 10°C/min |
| 10 | °C / 60 s | 10°C/min |
| 18 | °F / 60 s | 10°C/min |
In Cropster, changing the time expression only changes the unit shown, not the shape of the curve. In Artisan, RoR is displayed per minute by default.
How to Read a RoR Curve, Phase by Phase
In a well-managed drum roast, the RoR curve rises quickly after charge, peaks shortly after the turning point, and then declines smoothly all the way to the drop. Each phase has its own pattern and its own warning signs.
| Roast Phase | What RoR Typically Does | What to Watch For |
|---|---|---|
| Charge to Turning Point | Starts negative (beans absorb heat, probe cools), then climbs fast | The turning point time and temperature; they tell you whether charge temperature suited the batch size. |
| Peak RoR | Highest value of the roast, usually within the first 2–3 minutes | A peak that arrives late or stays flat suggests too little early energy. |
| Drying Phase (to yellowing) | Begins a steady decline | Humps or plateaus, which usually mean heat was not reduced in time. |
| Maillard Phase (yellowing to first crack) | Continues declining at a controlled pace | A flattening RoR in the last minute before first crack — the classic setup for a crash. |
| First Crack | Drops as moisture and gases escape | A sudden, steep drop (crash). |
| Development (after first crack) | Keeps falling toward the drop | A late rise (flick), typically 90–120 seconds after first crack begins. |
What a “Good” RoR Curve Looks Like
There is no single correct RoR number, because batch size, drum design, bean density and roast style all change the picture. What experienced roasters look for is the shape: a smooth, steadily declining line after the peak, with no plateaus, crashes or flicks.
That said, the widely taught “declining RoR” principle is a guideline, not an immutable law. Some roasters deliberately hold RoR steady during Maillard for certain coffees. The key is that every change in the curve should be intentional and repeatable.
Three RoR Data Points Worth Logging Every Roast
- Peak RoR: How much energy went in early.
- RoR at First Crack: How much momentum the roast carries into development.
- RoR at Drop: How gently the roast finished.
Tracking these three numbers across batches is one of the fastest ways to spot drift in production consistency.
Why RoR Matters for Flavor
RoR matters because the speed of each phase shapes which flavor compounds develop and how evenly the bean roasts from surface to core.
| RoR Pattern | Likely Result in the Cup |
|---|---|
| Too high for too long | Surface development ahead of the core; sharp, sour or astringent notes; risk of scorching or tipping. |
| Too low, or stalling | Baked, flat, papery or bready flavors, with muted sweetness and acidity. |
| Crash at first crack | Baked character even when total roast time looks normal. |
| Flick in development | Roasty, ashy or smoky notes and a loss of clarity. |
| Smooth, steady decline | Balanced sweetness and acidity, and a profile that is easier to repeat. |
Bean characteristics also change how RoR behaves:
- Dense, high-altitude coffees usually tolerate and need more energy.
- Natural-processed coffees are generally less prone to crashing at first crack than washed coffees, according to Barista Hustle’s roasting course.
- Decaf and low-density beans often need gentler heat to avoid running away out of control.
RoR Crash and Flick: What They Are and How to Prevent Them
A RoR crash is a sudden, steep drop in bean-temperature RoR at the start of first crack. A flick is a sharp rise in RoR later in development, often following a crash. Crashes are linked to baked flavors; flicks to ashy, roasty flavors. Both terms were popularized by roasting consultant Scott Rao.
What Causes a Crash
- Too much momentum into first crack: If RoR flattens or rises in the minute before first crack, the sudden release of moisture and endothermic gas expansion at crack pulls it down hard.
- Cutting heat too late, then too hard: A big gas reduction right as first crack starts amplifies the drop.
- Too much energy in the drying and early Maillard phases: Heat stored in the drum and air carries forward and destabilizes the curve later.
What Causes a Flick
- Excess heat in the drum metal and roasting environment late in the roast: A hot drum surface darkens the outer layers of the bean, similar to searing.
- Exothermic reactions in the bean: During development, wood-like cellular breakdown adds heat the operator did not anticipate.
- Overcorrection: Not reducing gas enough after first crack, or an operator over-boosting heat to recover from a preceding crash.
How to Prevent Crash and Flick: A Starting Framework
This sequence, taught by Barista Hustle and Cropster based on Scott Rao’s work, is a useful starting point for 10–14 minute drum roasts. Adjust it for your machine and coffee:
- Keep RoR declining into first crack: For washed coffees, reduce gas roughly 45 seconds before first crack so RoR does not flatten.
- Hold gas steady through early development: Avoid cutting gas between 0% and 12% Development Time Ratio (DTR), which tends to deepen a crash.
- Step gas down in stages: Cut gas roughly in half at 12% DTR, again at 14% DTR, and again (or off) at 16% DTR.
- Watch ET RoR: A rising environmental RoR late in the roast is often the first sign of a coming flick.
- Act early: RoR responds with a lag, so by the time a flick is visible on screen, it is usually too late to fix it in that batch.
Roasters who drop at or just after the end of first crack rarely face a serious flick. The risk grows the darker you roast.
How to Control RoR on a Commercial Drum Roaster
You control RoR with five core variables. Burner power is the main lever; the others shape how that heat reaches the beans.
| Variable | Effect on RoR | Practical Note |
|---|---|---|
| Burner / Gas Power | Most direct control; more gas raises RoR, less gas lowers it | Changes show up with a delay, so adjust 30–60 seconds ahead of where you want the effect. |
| Airflow | More airflow increases convective heat early but can cool the drum later; clears smoke and chaff | Sudden airflow changes can cause RoR spikes or dips — change it deliberately and log it. |
| Drum Speed | Affects how evenly beans contact the drum and conductive heat uptake | Usually set once per profile rather than changed mid-roast. |
| Charge Temperature | Sets early momentum and the turning point | Too high risks scorching; too low leads to a weak peak and a stalled roast. |
| Batch Size | Larger batches absorb more heat and respond more slowly | Re-tune charge temperature and gas when you change batch size, even with the same coffee. |
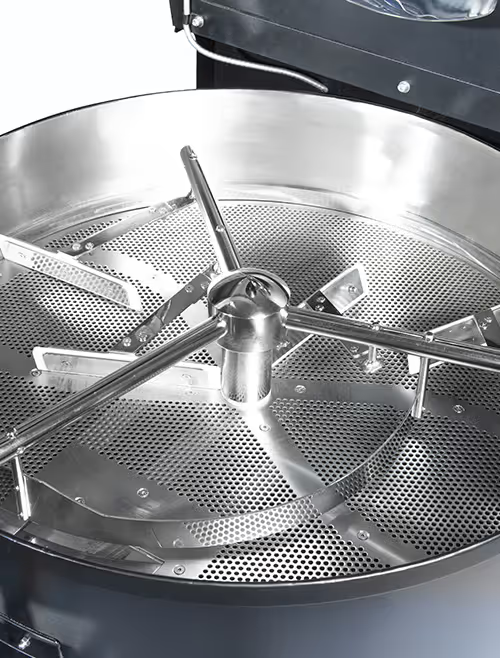
Machine response time matters as much as the controls themselves. A modulated premix burner responds to gas changes faster and more precisely than a basic atmospheric burner, which makes staged gas reductions around first crack easier to execute. A double-walled, well-insulated drum stores heat more evenly, reducing the uncontrolled drum-surface heat that drives flicks. For a deeper look at these mechanics, see our guides on heat transfer in coffee roasting and airflow control in commercial roasters.
How to Set Up RoR in Artisan
In Artisan, the most important RoR setting is Delta Span: the time window Artisan looks back over to calculate each RoR value. A longer span gives a smoother curve but adds lag; a shorter span reacts faster but shows more noise.
- Set the sampling interval: Go to
Config › Sampling. The Artisan quick-start guide suggests leaving it at the default 3 seconds while you learn, then reducing it if your hardware supports faster readings. - Enable the RoR curves: Go to
Config › Curves › RoRand tick BT RoR. Adding ET RoR gives you an essential early warning for flicks. - Set Delta Span: Keep it at least twice your sampling interval — for example, 6 seconds at 3-second sampling. The Artisan documentation caps it at 30 seconds.
- Start with zero smoothing: Set Smooth Curves and Smooth Deltas to
0, and tick Drop Spikes and Smooth Spikes. Increase smoothing gradually only if the curve is too noisy to read. - Fix your axes: Under
Config › Axes, set a fixed RoR range (for example 0–25°C/min) so curves from different batches are directly comparable. - Load a background profile: Overlay a reference roast so you can see deviations in real time.
How to Set Up RoR in Cropster
In Cropster Roasting Intelligence, RoR behavior is controlled by a preset and a time expression, found under Preferences (gear icon) › Roasting › Rate of Rise.
- Choose the RoR setting: Cropster offers three presets: Recommended (the default and best starting point), Sensitive (near real-time, for low-noise setups) and Noise smoothing (for machines with electrical interference).
- Pick a time expression: This sets the unit (for example °C/60 s or °C/30 s). It changes the numbers displayed, not the shape of the curve.
- Set a reference roast: Overlay your target profile so live deviations are visible early.
- Turn on smart predictions: Bean curve prediction projects bean temperature and RoR two minutes ahead. Flick prediction is also available, but first-crack prediction must be enabled first.
- Fix the RoR axis range: Lock the axis scale so batch comparisons stay visually consistent.
Artisan vs Cropster for RoR Management
| Feature | Artisan | Cropster |
|---|---|---|
| Cost | Free, open-source | Paid subscription |
| RoR Tuning | Fine-grained: sampling, Delta Span, curve and delta smoothing | Three presets plus time expression |
| Reference Curves | Background profile overlay | Reference roast overlay and roast compare reports |
| Predictions | Manual reading of the curve | Bean curve, first crack and flick prediction |
| Best Suited To | Hands-on roasters who want full control over settings | Production roasteries that want data, predictions and inventory in one platform |
Neither is “better” for RoR in absolute terms. As Scott Rao points out, there is no universal optimal setting: the right values depend on your probe’s responsiveness and your machine’s background noise. KRAFFE roasters work natively with both platforms, allowing you to choose based on workflow rather than hardware limits.
Why Your Roaster’s Hardware Changes the RoR Curve
Software can only work with the signal it receives. Three hardware factors decide how trustworthy your RoR curve is:
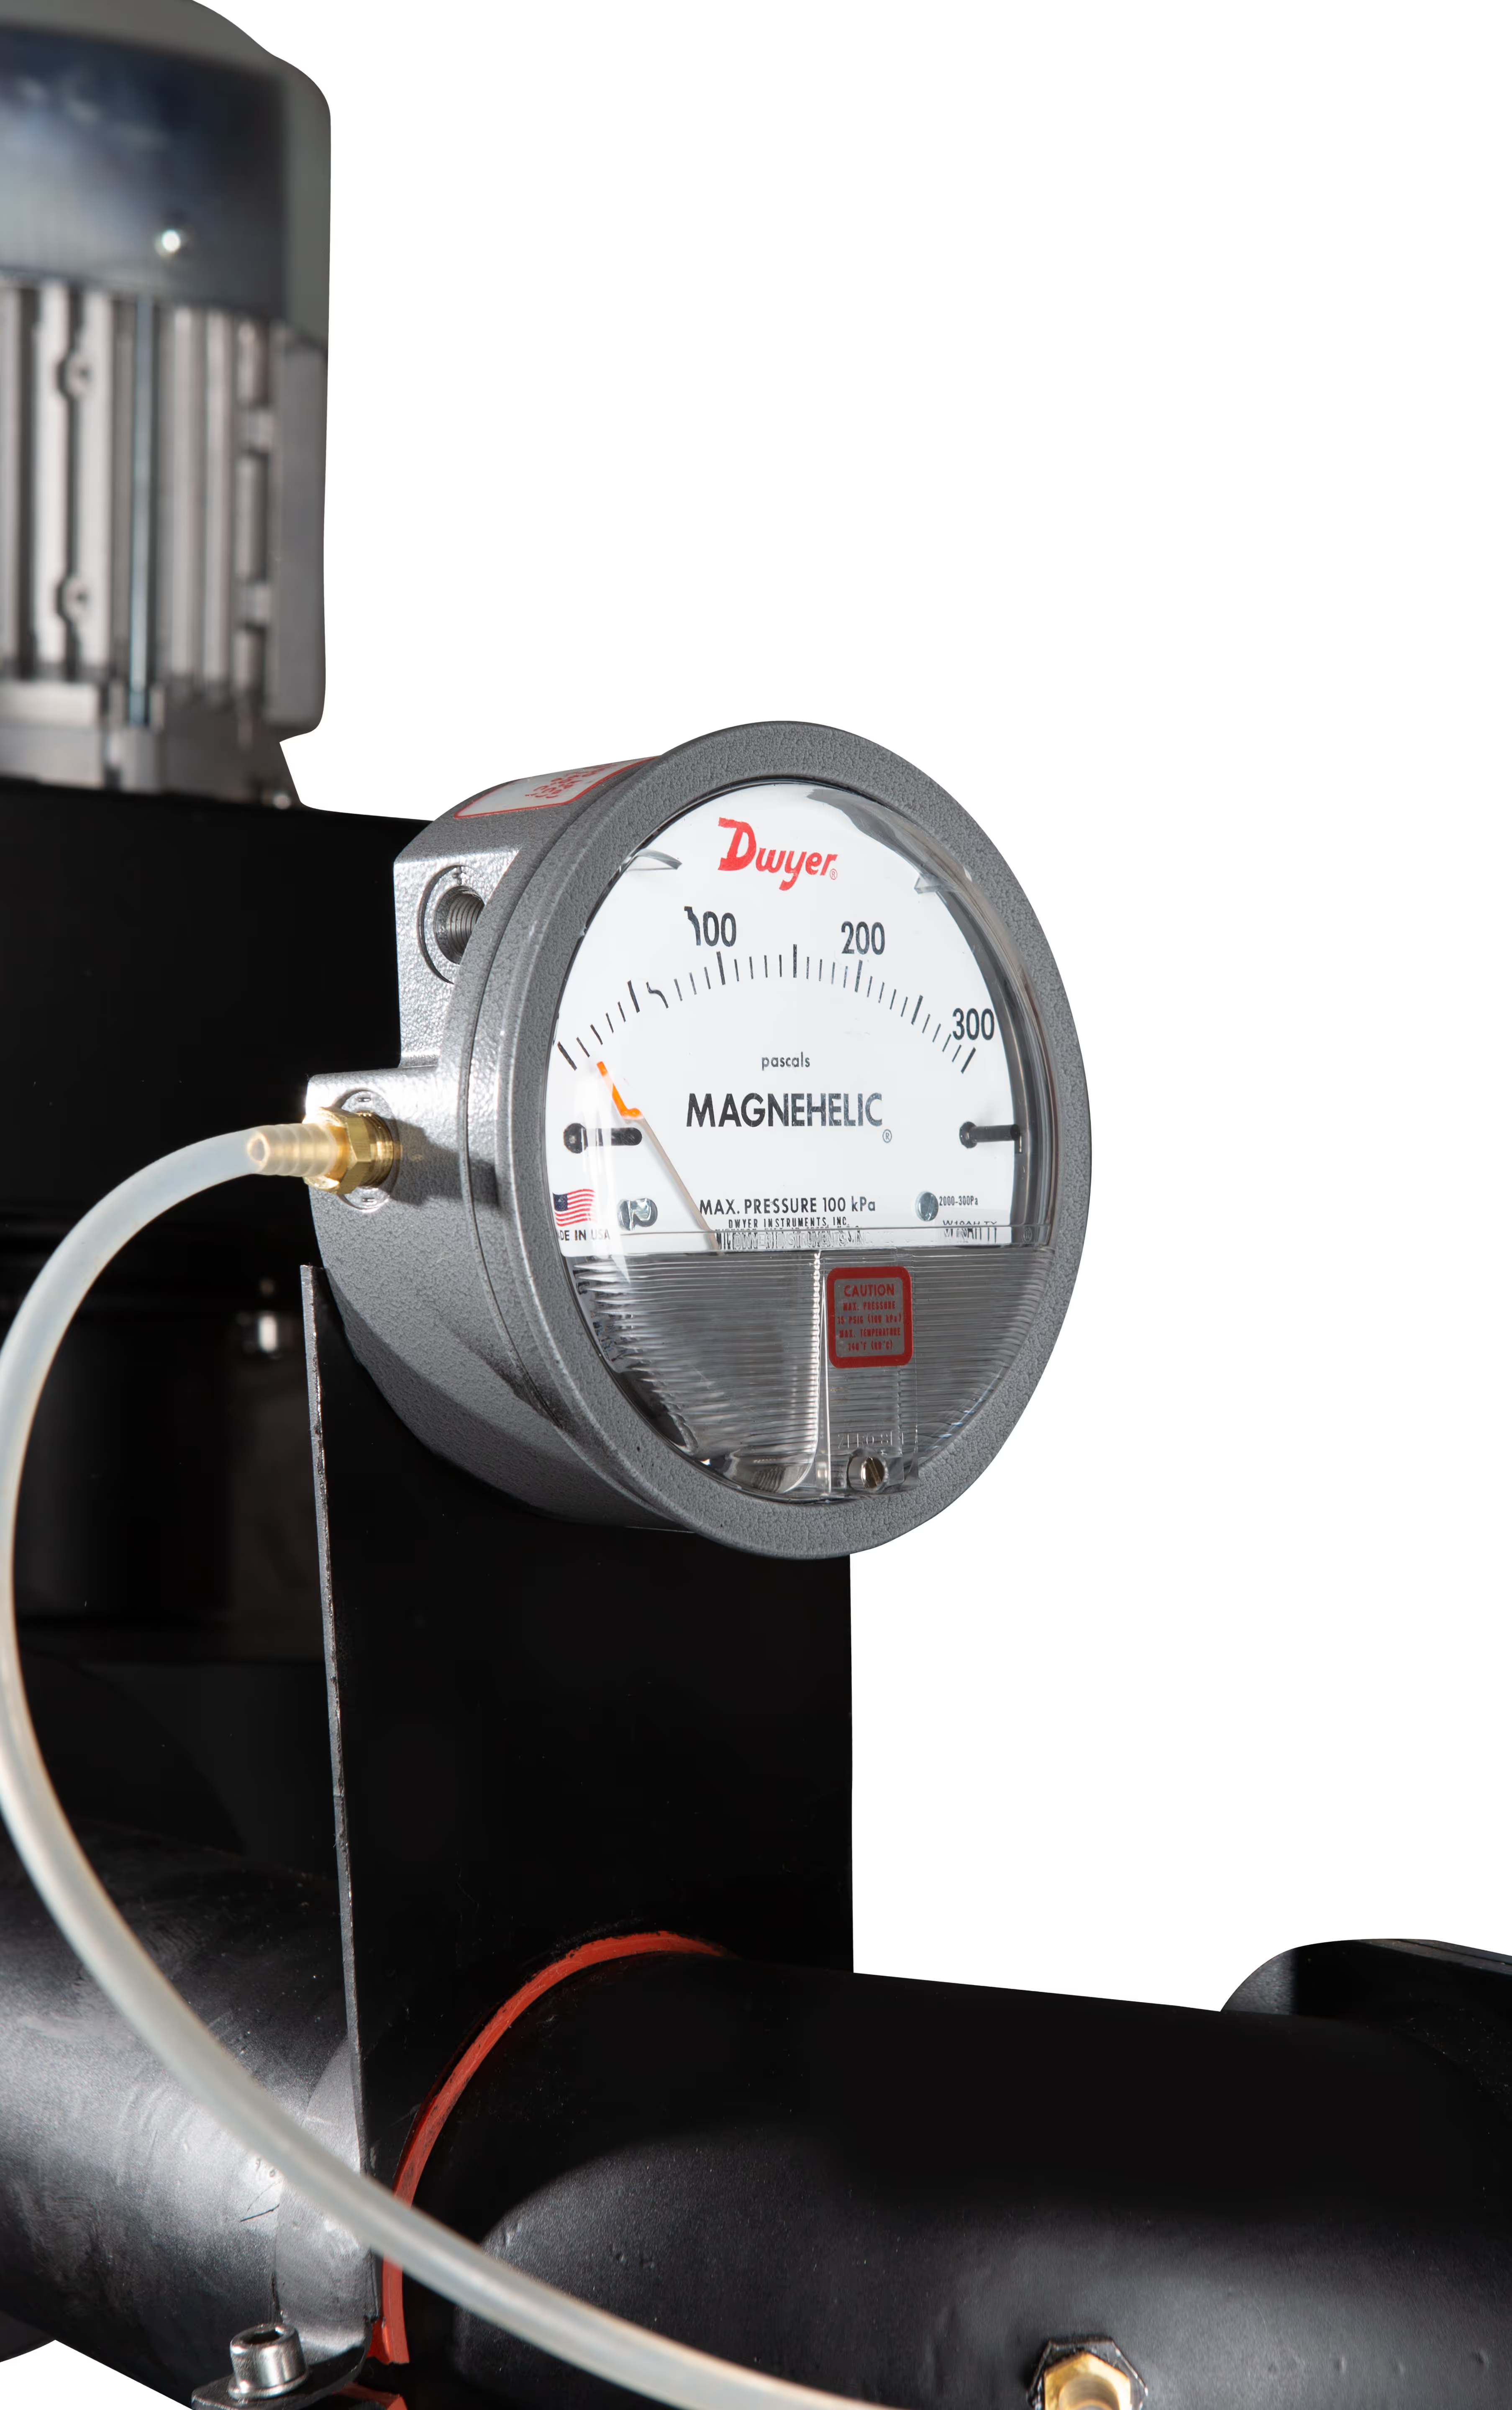
- Probe type and thickness: Thinner thermocouples respond faster, so the RoR curve lags less behind what is actually happening in the bean mass. KRAFFE roasters use responsive 3 mm thermocouples for this exact reason.
- Probe placement: The bean probe must sit fully in the bean mass at your working batch size. A probe that is partly exposed reads a blend of bean and air temperature, which distorts RoR, especially with small batches.
- Electrical noise: Motors, fans and poorly shielded wiring can add spikes to the signal. Too much noise forces heavier smoothing, and heavier smoothing adds lag.
Thermal stability matters too. A roaster that loses or gains heat unpredictably between batches will produce different RoR curves from identical settings. Insulated, double-walled drums and consistent between-batch protocols reduce that drift.
Common RoR Mistakes to Avoid
- Chasing the curve: Reacting to every small wiggle usually creates more instability. Make fewer, more decisive adjustments.
- Over-smoothing to make the graph look clean: A smooth curve that lags 20 seconds behind reality gives you worse information, not better.
- Comparing profiles with different units or settings: A RoR of 5 per 30 seconds and 10 per minute are the same roast.
- Copying another roaster’s RoR numbers: Target values do not transfer between machines, batch sizes or probe setups. Copy the shape, then calibrate.
- Ignoring batch size changes: A profile built for 12 kg will behave differently at 8 kg on the same machine.
- Judging by the graph alone: RoR is a tool, not a goal. Cupping remains the final test of any profile.
If you are building a profile from scratch, our step-by-step guide on creating coffee roasting profiles is a useful next read.
Frequently Asked Questions About Rate of Rise
What is a good RoR for coffee roasting?
There is no universal “good” RoR value. It depends on the machine, batch size, bean density and roast style. What matters most is the curve’s shape: a clear early peak followed by a smooth, steady decline to the drop, with no crash at first crack and no flick in development.
Should RoR always decline during a roast?
After the early peak, a steadily declining RoR is the most widely used guideline because it helps avoid baked and roasty flavors. It is not an absolute rule. Some roasters intentionally hold RoR steady during Maillard for specific coffees, as long as the result is deliberate and repeatable.
What causes a RoR crash at first crack?
A RoR crash is usually caused by too much momentum going into first crack. When RoR flattens or rises in the final minute before crack, the sudden release of moisture at first crack pulls it down sharply. Reducing gas about 45 seconds before first crack helps prevent it.
How do I stop the flick at the end of a roast?
Reduce heat in stages after first crack. A common starting point is to cut gas roughly in half at 12%, 14% and 16% development time ratio. Watching environmental-temperature RoR also helps, because it usually rises before the bean RoR flicks.
What is Delta Span in Artisan?
Delta Span is the time window, in seconds, that Artisan uses to calculate each RoR value. Longer spans produce smoother curves but add lag. It should be at least twice the sampling interval, and the maximum is 30 seconds.
Which Cropster RoR setting should I use?
Start with the “Recommended” setting, which Cropster designed as the best balance for most machines. Switch to “Sensitive” only if your setup has very little electrical noise, or to “Noise smoothing” if your curve is visibly jagged.
Is RoR measured per minute or per 30 seconds?
Both are used. Artisan displays RoR per minute by default, while Cropster lets you choose the time expression. An RoR of 5°C per 30 seconds equals 10°C per minute, so always confirm the unit before comparing profiles.
Conclusion: Read the Speed, Not Just the Temperature
Rate of Rise turns a roast graph from a record of what happened into a forecast of what will happen next. Learn the healthy shape, watch for crashes and flicks, act 30–60 seconds ahead, and set up Artisan or Cropster so the signal is clean but still responsive.
The other half of RoR control is the machine itself: fast-responding burners, stable thermal mass and accurate probes make every adjustment land where you expect. KRAFFE commercial and industrial roasters are built around exactly that, with native Artisan and Cropster compatibility.
Ready to roast with more control? Explore KRAFFE roasters or talk to our team about the right machine for your roastery.