Quick Answer: To roast coffee beans, heat green coffee evenly while keeping it in continuous motion until it reaches your target roast level, typically taking 8–15 minutes between 195°C and 230°C (385–446°F). A light roast ends 1–1.5 minutes after first crack; a medium roast ends between first and second crack; a dark roast progresses into second crack. Fast cooling in under 4 minutes is essential to freeze development. Commercial repeatability requires precision heat, airflow control, and real-time probe telemetry.
How Do You Roast Coffee Beans?
To roast coffee beans, heat green coffee evenly while keeping it moving until it passes first crack, then drop it at your target colour and cool it quickly. A light roast ends shortly after first crack; a medium roast ends between first and second crack; a dark roast goes into second crack. The whole process takes around 8–15 minutes in most roasters.
That is the short version. The difference between an amateur roast and an exceptional commercial batch lies in how you manage thermal energy at each stage, and how reliably you can repeat that roast curve across consecutive batches.
As a coffee roasting machine manufacturer, we spend our days analyzing roast curves and thermal dynamics. This comprehensive guide walks through the full process step by step: the equipment you need, how to select green coffee, what occurs chemically and physically at each stage, how different roasting methods compare, how to troubleshoot common roast defects, and what changes when you scale from kitchen experiments to a commercial roastery.
What You Need to Roast Coffee Beans
You can start with very modest tools, but each piece of equipment below adds control and makes your batches more consistent:
- Green (unroasted) coffee beans: Source high-grade specialty green coffee from a reputable green importer or local roastery. For beginners, start with a clean, forgiving washed Central or South American coffee (such as a Colombian or Guatemalan).
- A heat source with continuous agitation: Anything from a heavy cast-iron pan or stovetop crank popper to a dedicated fluid-bed home roaster or a commercial drum roaster. The beans must remain in constant motion to prevent localized scorching.
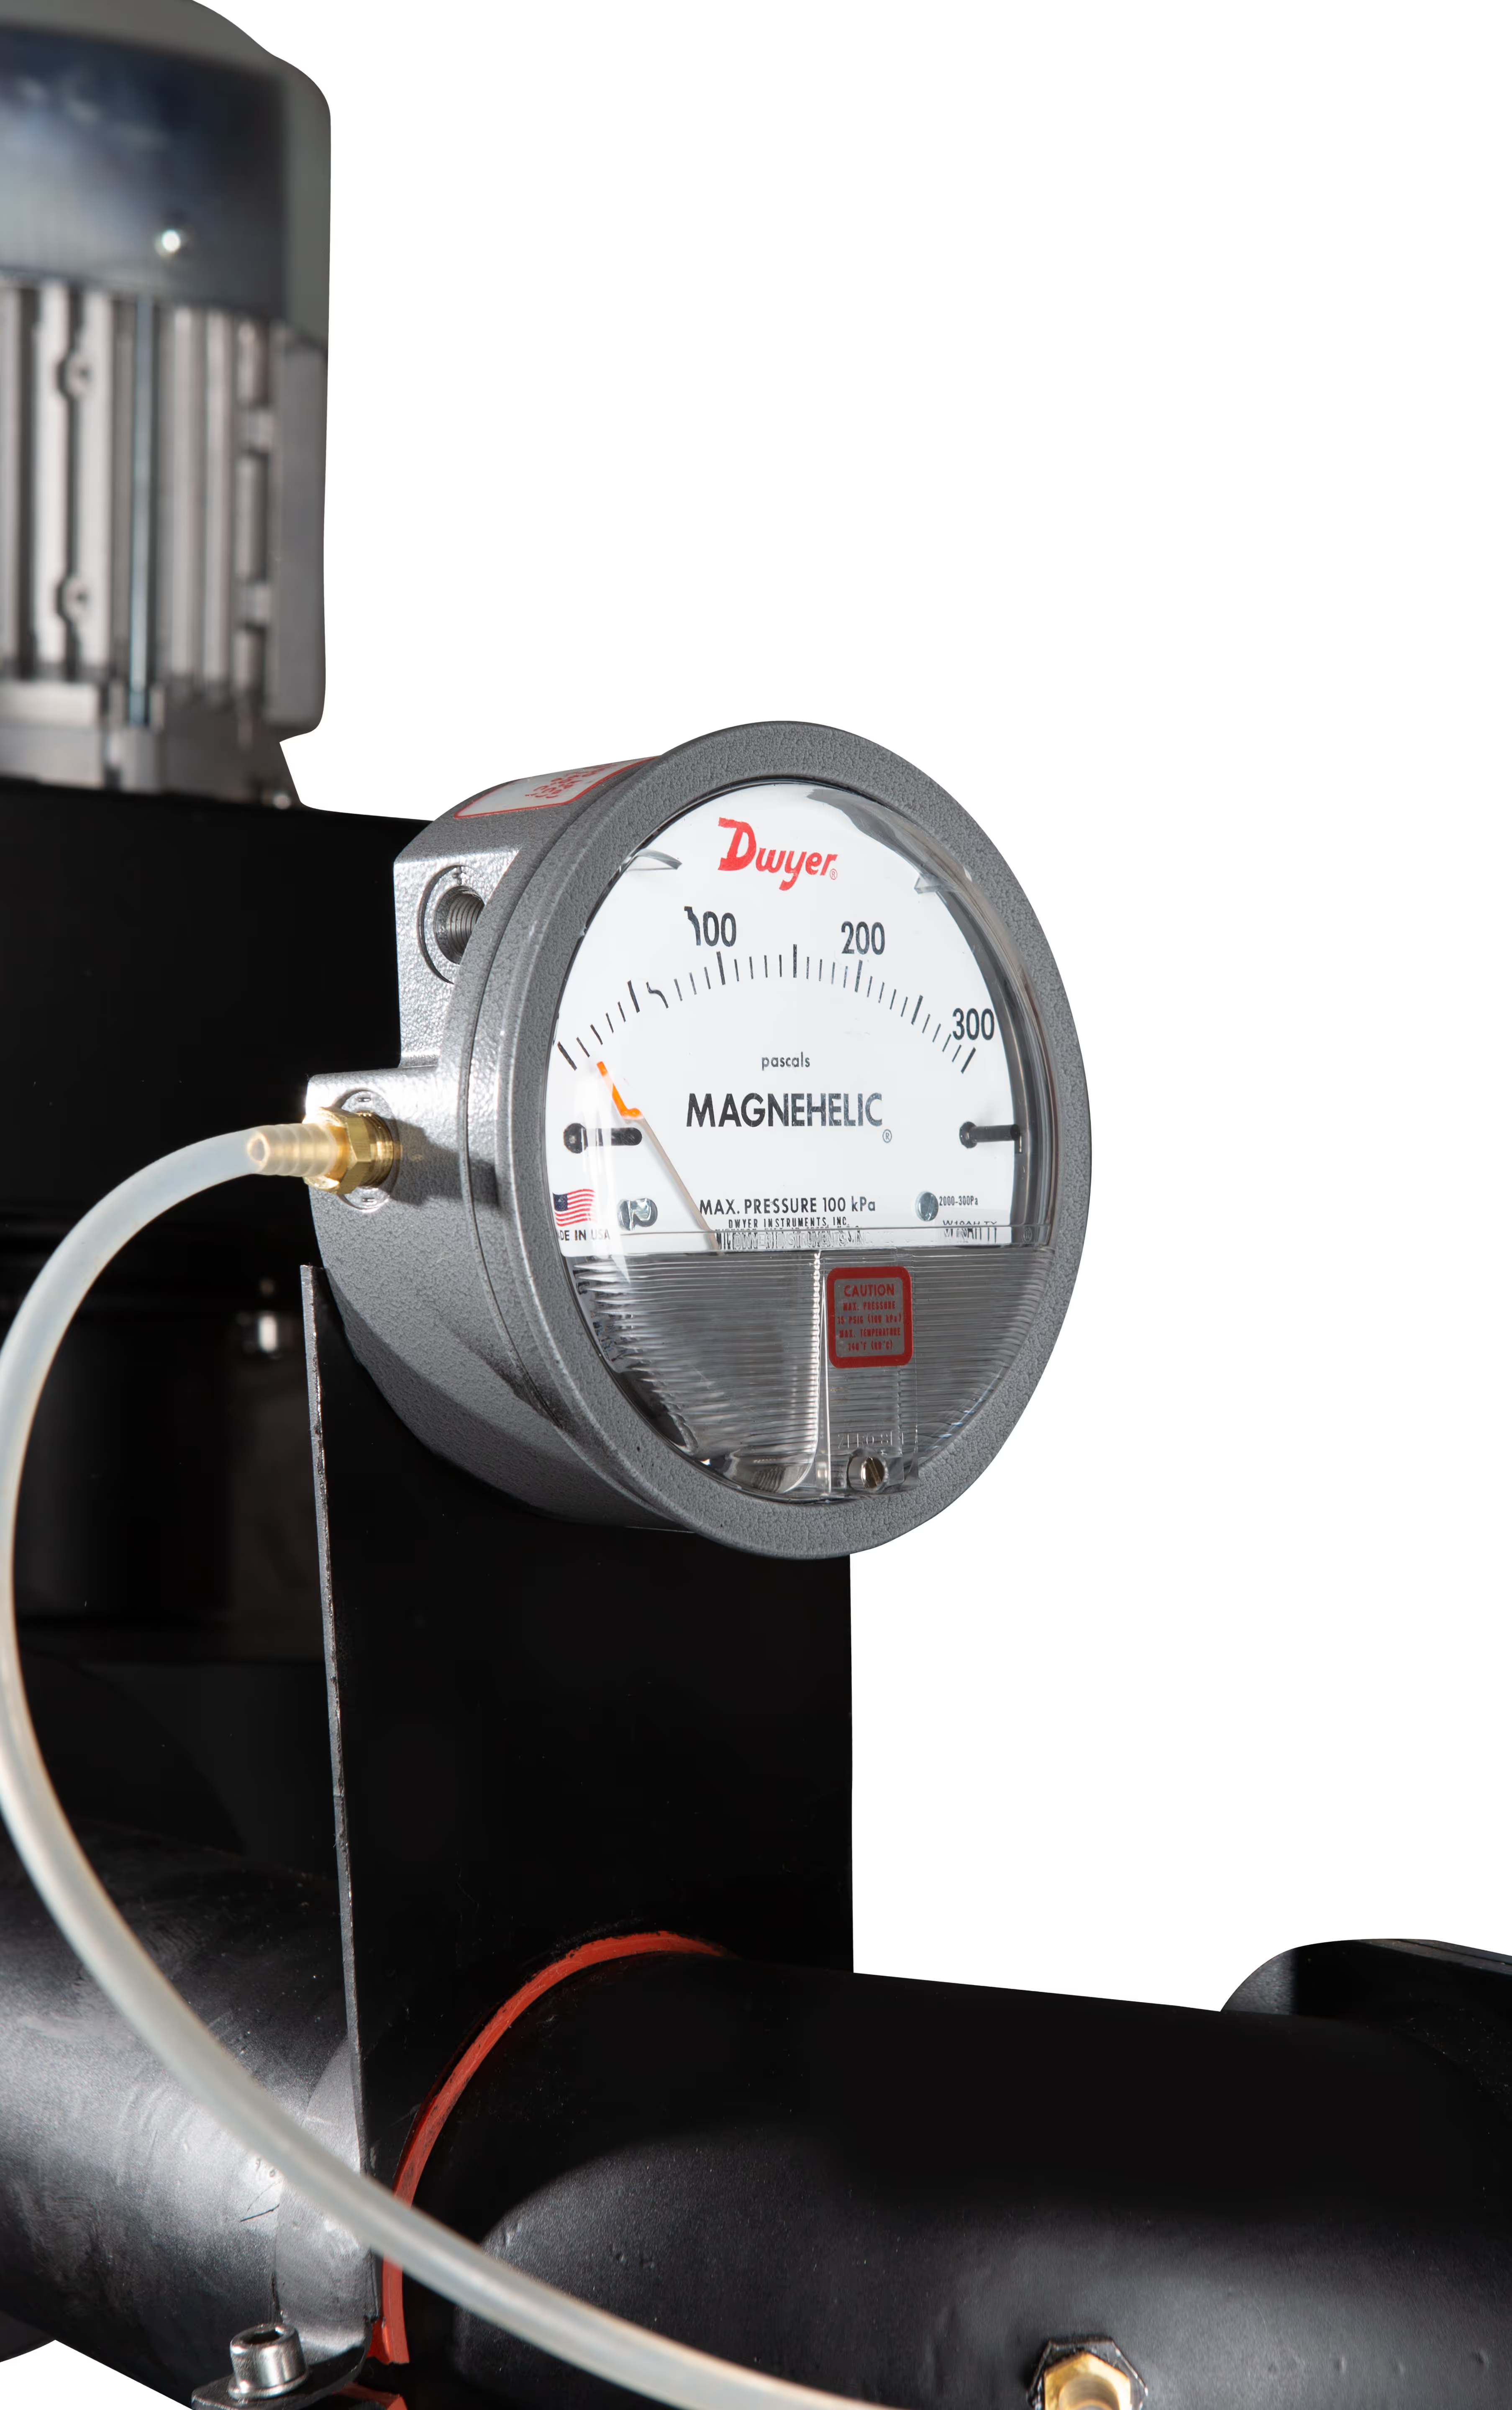
- A thermometer or digital temperature probe: While optional for rustic pan roasting, digital probes are indispensable for repeatability. Commercial roasters monitor both bean temperature (BT) and environmental/exhaust temperature (ET).
- A timer and roast log: Record your charge temperature, turning point time, yellowing milestone, first crack onset, and drop time. Roast-logging software like Artisan or Cropster handles this automatically on professional machines.
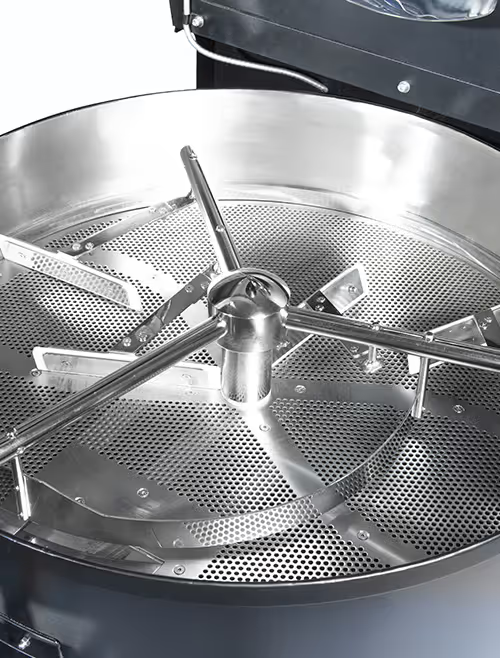
- A rapid cooling system: Two metal colanders tossed back and forth outdoors for small batches, or an integrated cooling tray with a mechanical stirring arm and suction blower on a drum roaster.
- Adequate ventilation: Roasting generates dense steam, aromatic smoke, and chaff (the papery silverskin released as beans expand). Roast near an open window, beneath an exhaust hood, or plumbed into a dedicated chimney.
- A digital precision scale: Weigh green coffee before charging and roasted coffee after cooling to calculate batch weight loss percentage.
- Airtight storage with a one-way degassing valve: Allows released carbon dioxide (CO₂) to vent freely while preventing oxygen from staling the beans during their resting period.
Choosing Green Coffee Beans for Roasting
The roasting process can only unlock the aromatic and gustatory potential already stored inside the raw seed. Therefore, green coffee quality sets the ultimate ceiling for your cup. Four physical and botanical factors dictate how green coffee responds to heat inside the drum:
- Bean Density: High-grown coffees (cultivated above 1,200–1,800 meters) develop denser cellular matrices. Dense beans absorb conductive heat more slowly and withstand aggressive early energy without scorching. Softer, low-grown beans require gentler heat application to avoid burning bean surfaces.
- Moisture Content: Quality specialty green coffee typically holds 10–12% internal moisture. Wetter beans require a longer, steady drying phase to avoid trapping moisture before first crack.
- Processing Method: Washed (wet-processed) coffees roast with predictable, uniform heat absorption. Natural (dry-processed) and honey-processed coffees retain residual mucilage sugars on the seed exterior, caramelizing faster and demanding careful heat management to prevent surface tipping.
- Screen Size and Uniformity: Graded, uniform screen sizes (e.g., Screen 16/18) roast at identical speeds. A lot containing a haphazard mix of peaberries, small beans, and jumbo beans will roast unevenly within the same batch.
Pro Tip: For your initial roast batches, purchase 5–10 kg of a single washed origin. By holding the raw coffee constant and adjusting only one roasting parameter at a time (such as charge temperature or development time), you will master thermal cause and effect much faster.
How to Roast Coffee Beans, Step by Step
The operational sequence below follows a commercial drum roaster, but the identical thermodynamic milestones occur whether you roast in a pan, an oven, or an air roaster. Temperatures reflect typical bean-probe (BT) readings and will vary according to probe thickness and placement.
1. Preheat and Charge
Preheat the roaster thoroughly until the internal drum steel reaches thermal equilibrium. Bring the drum to your target charge temperature—typically 180–220°C (356–428°F) depending on machine size and batch weight—then release the green coffee into the drum. Start your roast timer immediately and log the charge temperature.
2. The Turning Point (TP)
When cold green coffee enters the heated drum, the temperature probe drops sharply. Within 60 to 90 seconds, the probe and the bean mass reach equilibrium (usually between 85–105°C / 185–221°F) before the curve bottoms out and begins to rise. This inflection point is the turning point, providing an early diagnostic indicator of your charge energy.
3. Drying Phase (Approx. 4–6 Minutes)
The beans absorb heat, shedding free water as steam. They transition from blue-green to pale yellow and emit scents of warm grass, fresh hay, or bread dough. Maintain steady, confident burner energy here: insufficient heat stalls the drying progression, while excessive heat scorches the fragile bean surface.
4. Maillard and Browning Phase (Approx. 3–5 Minutes)
Starting around 150°C (300°F), amino acids and reducing sugars react in the classic Maillard reaction, forming melanoidins and hundreds of aroma precursors. The beans shift from golden yellow to tan and warm light brown, releasing aromas of toasted bread, malt, and caramel. As the beans approach first crack, experienced roasters begin progressively stepping down burner power to manage thermal momentum.
5. First Crack
Between 196°C and 205°C (385–401°F), internal steam and gas pressure rupture the bean’s cellular walls with a distinct, audible pop similar to popcorn. Mark this timestamp immediately: it marks the beginning of the development phase and represents the earliest point at which the coffee is drinkable and fully soluble.
6. Development and Drop
Following first crack, the Rate of Rise (RoR) should decline steadily without stalling or flicking upward. Drop the coffee into the cooling tray when it reaches your target roast degree:
- Light roast: 1:00–1:30 minutes post-crack, around 200–205°C.
- Medium roast: 2:00–3:00 minutes post-crack, around 210–220°C.
- Dark roast: Progressing into or slightly beyond second crack, around 224–230°C.
Many specialty roasters aim for a Development Time Ratio (DTR) of approximately 15–22% of total roast duration.
7. Rapid Cooling
Coffee beans retain significant thermal mass and will continue pyrolyzing in their own heat if left static. Activate the cooling tray agitator and suction fan immediately to pull ambient room air through the bed, chilling the batch below 40°C (104°F) in under 3 to 4 minutes.
8. Chaff Removal, Weighing and Logging
Ensure chaff is separated into the cyclone collector. Weigh the roasted batch to calculate your exact weight loss percentage:
$$\text{Weight Loss %} = \frac{\text{Green Weight} - \text{Roasted Weight}}{\text{Green Weight}} \times 100$$
Log your turning point, first crack time, drop temperature, total roast time, and weight loss into your roasting log.
9. Resting and Degassing
Freshly roasted coffee contains substantial volumes of trapped carbon dioxide ($CO_2$), which inhibits water contact and creates carbonic bitterness if brewed immediately. Store your coffee in airtight bags equipped with one-way degassing valves. As a general rule:
- Filter brew: Rest 3 to 7 days.
- Espresso: Rest 7 to 14 days.
- Dense light roasts: Often peak between 10 and 21 days post-roast.
Coffee Roast Stages at a Glance
Successful roasting relies on triangulating three senses simultaneously: visual color changes, evolving aromas, and auditory cues.
| Stage | Approx. Bean Temp | Bean Color | Sensory Indicators & Aromas |
|---|---|---|---|
| Green | Ambient | Grey-green / olive | Grassy, vegetal; hard raw seed |
| Drying | Up to ~150°C (300°F) | Green to pale yellow | Wet grass, hay, bread dough; visible steam |
| Browning (Maillard) | ~150–195°C (300–383°F) | Tan to cinnamon brown | Toast, malt, baking bread; chaff starts separating |
| First Crack | ~196–205°C (385–401°F) | Light brown | Distinct, sharp popcorn-like popping sounds |
| Light Roast (Drop) | ~200–205°C (392–401°F) | Cinnamon brown, matte | Bright citric and floral aromatics; dry surface |
| Medium Roast (Drop) | ~210–220°C (410–428°F) | Chestnut brown, dry | Sweet caramel, milk chocolate, roasted hazelnut |
| Second Crack | ~224–230°C (435–446°F) | Dark brown, satin sheen | Rapid, quiet crackling (like Rice Krispies); initial oil droplets |
| Dark Roast (Drop) | ~230–240°C (446–464°F) | Deep dark brown to black | Pungent smoke, dark baker’s cocoa, molasses; oily surface |
Safety Alert: Roasting coffee past 240°C (464°F) rapidly carbonizes the cellulose structure into charcoal, destroying origin flavor and posing a severe drum fire hazard.
Coffee Roasting Methods Compared
All roasting equipment accomplishes the same biochemical progression; where they diverge is in heat transfer efficiency, convective vs. conductive balance, and repeatability.
| Method | Typical Batch Size | Control & Consistency | Best Suited For |
|---|---|---|---|
| Cast-Iron Skillet / Wok | 100–250 g | Low: Requires relentless stirring; high risk of unevenness and tipping | Very first home experiment |
| Oven (Perforated Sheet) | 200–500 g | Low: Static bean bed leads to uneven heat; flat, baked flavors common | Testing roasting with zero gear investment |
| Hot-Air Popcorn Popper | 60–100 g | Medium: Fast, convective roasts; very small batches and zero profile control | Inexpensive DIY home hobbyists |
| Home Fluid-Bed Air Roaster | 100–250 g | Medium–High: Adjustable heat and fan curves; some models log telemetry | Weekly home roasting enthusiasts |
| Sample / Small Drum Roaster | 100 g – 1 kg | High: Authentic commercial drum thermodynamics, probes, and software logging | Quality control labs, profile development, micro-batches |
| Commercial Drum Roaster | 1 kg – 60+ kg | Very High: Modulating burners, independent airflow, 3 mm probes, motorized cooling trays | Specialty cafés, wholesale roasteries, industrial production |
Capacity Planning Note: When establishing a commercial roasting business, evaluate roaster size around projected weekly roasting schedules, not single-batch limits. Operating a machine at 100% capacity from day one eliminates operational headroom for growth, profiling, and seasonal surges.
Common Roasting Mistakes and How to Fix Them
Nearly all cup defects originate from misapplying heat during specific phases of the roast curve. Evaluate your batches through systematic sensory cupping and use this troubleshooting diagnostic to refine your settings:
| What You Taste or See | Likely Root Cause | How to Fix It in Your Next Batch |
|---|---|---|
| Sour, grassy, raw peanut taste | Underdevelopment: Dropped too quickly after first crack or development was too short | Extend development time after first crack; avoid cutting burner heat too aggressively right before first crack |
| Flat, papery, “baked” flavor | Stalled or crashed RoR: The roast lost momentum around first crack, stretching total time | Maintain a smoothly declining RoR; charge with adequate energy so first crack is reached with positive momentum |
| Bitter, ashy, acrid, smoky cup | Over-roasting or late heat spike: Roasted too dark or pushed too fast into second crack | Drop the batch earlier; taper burner power before entering second crack; increase exhaust airflow |
| Uneven color within the batch | Inadequate agitation or mixed green sizes: Typical of pan/oven roasts | Ensure vigorous agitation or switch to a drum roaster; inspect green coffee screen-size grading |
| Dark burn spots or charred tips | Scorching or tipping: Excessive drum contact temperature at charge or early drying | Lower your charge temperature; reduce initial gas setting; increase drum rotation speed |
| Inconsistent taste batch to batch | Thermal drift: Roaster preheated to different states; no profile logging | Implement a strict Between-Batch Protocol (BBP); log curves in Artisan/Cropster and match reference profiles |
Roastery Safety Rule: Never leave a roaster unattended during operation. Chaff build-up and oil-laden dark roasts can ignite rapidly. Ensure chaff collectors are cleaned regularly, and vent all roasting exhaust to outdoors using insulated ducting.
From Home Roasting to Commercial Roasting: What Changes?
The fundamental chemistry of roasting coffee remains identical whether you process 150 grams in a kitchen popper or 30 kilograms in a production roaster. What shifts completely is the requirement for flawless commercial repeatability.
- Repeatability is your product: In a home setting, producing a sublime batch by luck is a thrilling success. In a commercial roastery, customers expect their favorite blend or single origin to taste identical week after week. Achieving this requires precision thermocouples in fixed positions, real-time RoR tracking, and curve-overlay software.
- Independent burner and airflow control: Professional drum roasters separate burner power from draft air velocity. This allows the operator to actively shape convective vs. conductive ratios through drying, Maillard, and development rather than merely reacting to momentum.
- Thermal inertia and mass stability: Heavy-gauge carbon steel or cast-iron drums and insulated combustion chambers store substantial thermal energy, ensuring batch #10 behaves with the exact same thermodynamics as batch #2.
- High-performance cooling: Commercial batches carry tremendous internal heat. A high-efficiency suction cooling tray equipped with rotating sweep arms arrests roasting chemistry immediately, locking in delicate aromatics.
- Emissions and environmental compliance: Industrial roasting produces significant chaff and volatile organic compounds. Cyclonic chaff separation is mandatory, and depending on municipal zoning, an integrated catalytic oxidizer or thermal afterburner may be required.
- Systematic Quality Control (QC): Recording weight loss percentage, measuring roast color on the Agtron scale, and daily production cupping catch subtle equipment drift before it ever reaches a wholesale client.
For an in-depth exploration of roast profiles and equipment, explore our related guides on:
- What is light roast coffee?
- Kraffe commercial coffee roasters category
- How to choose a coffee roaster machine
Kraffe Engineering in Action: Precision Control That Eliminates Guesswork
On Kraffe commercial drum roasters, the operator interface is engineered specifically to eliminate guesswork during profile replication. The digital PLC touch panel enables independent, stepless modulation of premix gas pressure alongside variable-frequency fan speed control for drum airflow.
When specialty roasters transition from home or sample equipment to a Kraffe KRF series machine, the most immediate transformation is thermal momentum stability: double-walled cast drums maintain steady thermal inertia so that batch 10 tracks batch 1 within tenths of a degree on Cropster or Artisan, while the high-velocity centrifugal cooling tray arrests development in under 180 seconds.
Frequently Asked Questions
How long should you roast coffee beans?
Most commercial drum roasts take between 8 and 15 minutes from charge to drop. Light roasts finish faster (typically 8–11 minutes), whereas darker roasts take longer (12–15 minutes). Roasting excessively fast risks leaving the bean interior raw and underdeveloped, while roasting too slowly stretches the curve and creates flat, baked flavors.
Can coffee beans be roasted at home?
Yes. Enthusiasts successfully roast coffee at home using cast-iron skillets, stovetop popcorn poppers, domestic hot-air roasters, or dedicated countertop drum roasters. Expect a steeper learning curve and less consistency than commercial machinery, and always ensure adequate ventilation.
Is it worth roasting coffee beans at home?
It is deeply rewarding for anyone passionate about coffee craftsmanship. Green coffee beans are significantly cheaper than roasted specialty beans and stay fresh for up to a year. However, home roasting requires patience, creates smoke and chaff mess, and takes time to master.
What is the 15-15-15 coffee rule?
The 15-15-15 rule is a helpful rule of thumb for coffee freshness: green coffee keeps optimal quality for roughly 15 months, roasted whole beans stay fresh for about 15 days, and ground coffee begins staling within 15 minutes of exposure to air.
What temperature do you roast coffee beans at?
Bean temperature rises continuously throughout the roast. First crack typically occurs around 196–205°C (385–401°F), and most roasts are dropped between 200°C and 235°C (392–455°F) depending on the targeted roast degree. The internal drum and exhaust air temperatures are considerably higher than the bean temperature.
How much weight do coffee beans lose when roasted?
Coffee beans typically lose 12% to 20% of their green weight during roasting, primarily due to moisture evaporation alongside minor carbon loss. Lighter roasts lose around 12–15%, whereas dark roasts lose 18–22%. Monitoring weight loss is one of the easiest quality control metrics to verify batch consistency.
How long should roasted coffee rest before brewing?
Whole beans should rest in valved bags for at least 3 to 7 days for filter brewing and 7 to 14 days for espresso. Freshly roasted beans actively release $CO_2$, which interferes with extraction and creates harsh flavors if brewed immediately after roasting.
Start Roasting, Then Make It Repeatable
Roasting coffee comes down to one fundamental thermodynamic sequence: dry, brown, crack, develop, drop, and cool. You can learn the basics of that sequence in a skillet or air popper in a single afternoon. Transforming that basic knowledge into coffee that tastes vibrant and identical across every single production run requires granular control over thermal energy, responsive airflow, dependable probe telemetry, and a disciplined roast log.
Start small, change only one variable per roast, and cup everything after proper degassing. When your roasting ambitions outgrow the kitchen, investing in the right roasting machine is what turns an enjoyable craft into a scalable, profitable business.
Ready to scale up your roasting? Explore Kraffe’s commercial coffee roasters or talk to our technical team to select the ideal roasting machine and batch capacity for your roastery.
Sources
- Seattle Coffee Gear – Coffee Roast Levels Explained
- Coffee magazine – Is your coffee too fresh? (weight loss, resting times)
- Acta Periodica Technologica – Changes of physical properties of coffee beans during roasting
- Yusibani et al. – Effect of temperature and roasting time on Arabica and Robusta beans
- Greenplantation – When to drink coffee after roasting (degassing)
- Home Coffee Solutions – First and second crack temperatures